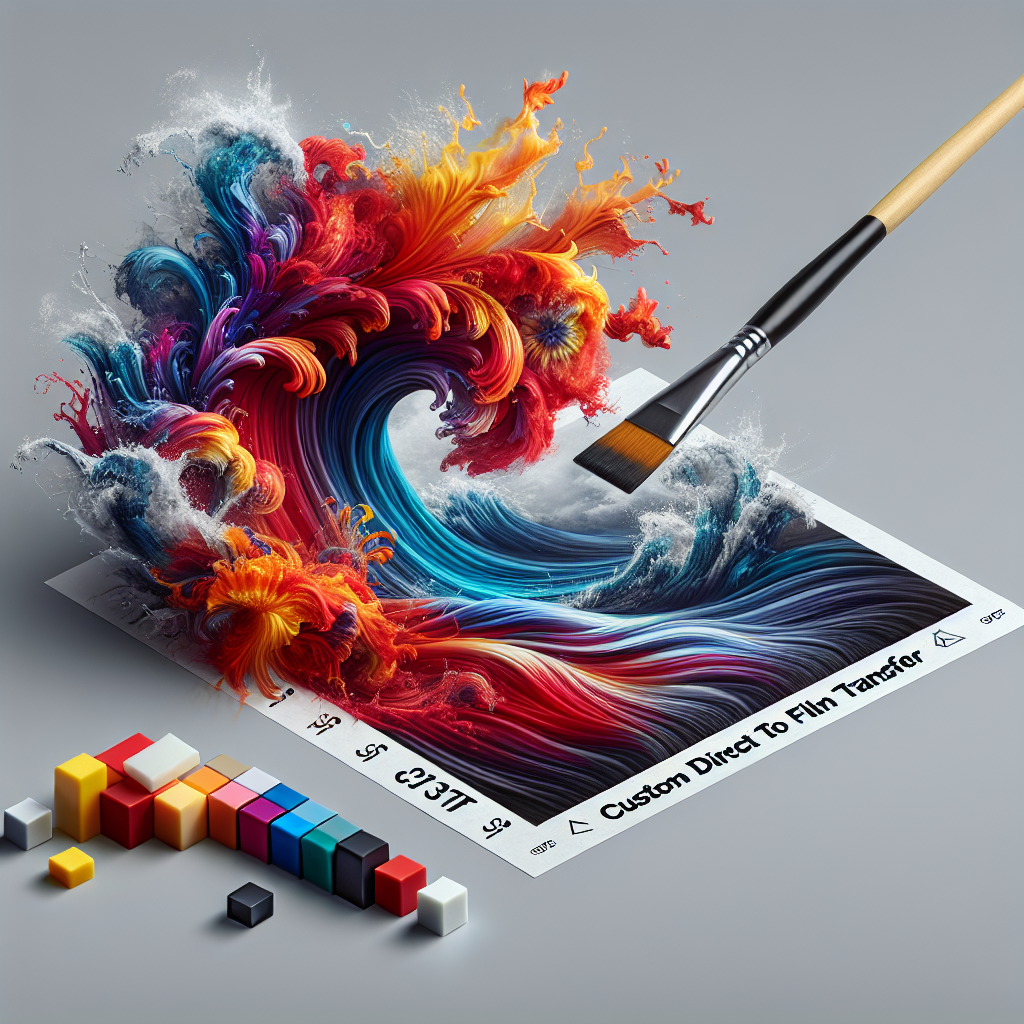
Embarking on the journey of creating your own custom Direct-to-Film (DTF) transfers is a thrilling venture that combines the allure of personalization with the excitement of crafting. Whether you’re an aspiring fashion designer with a unique vision or a DIY enthusiast looking to elevate your wardrobe, mastering how to make custom DTF transfers is an essential skill that can transform the ordinary into the extraordinary.
In the following sections, we’ll dive into the step-by-step process that will guide you through making professional-quality DTF transfers right from the comfort of your home. With the right tools, a dash of creativity, and a touch of patience, you’ll be well on your way to producing eye-catching designs that can be applied to a myriad of textiles. Prepare to unleash your artistic potential and see your concepts materialize into wearable art.
At Affordable DTF, we celebrate the spirit of innovation and empower you with the knowledge to bring your creative visions to fruition. Ready to take the first step towards creating your own custom DTF transfers? Please visit AffordableDTF.com for more info!
Understanding the DTF Printing Process
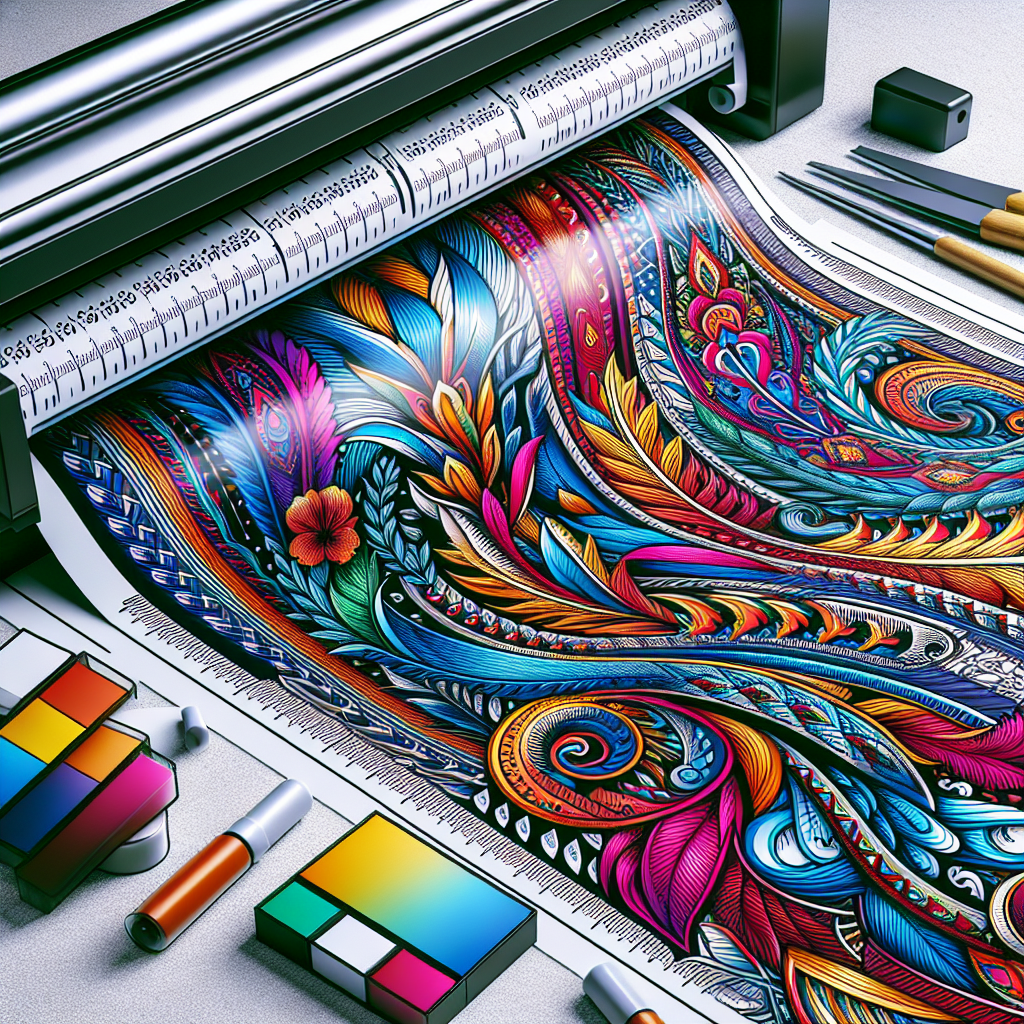
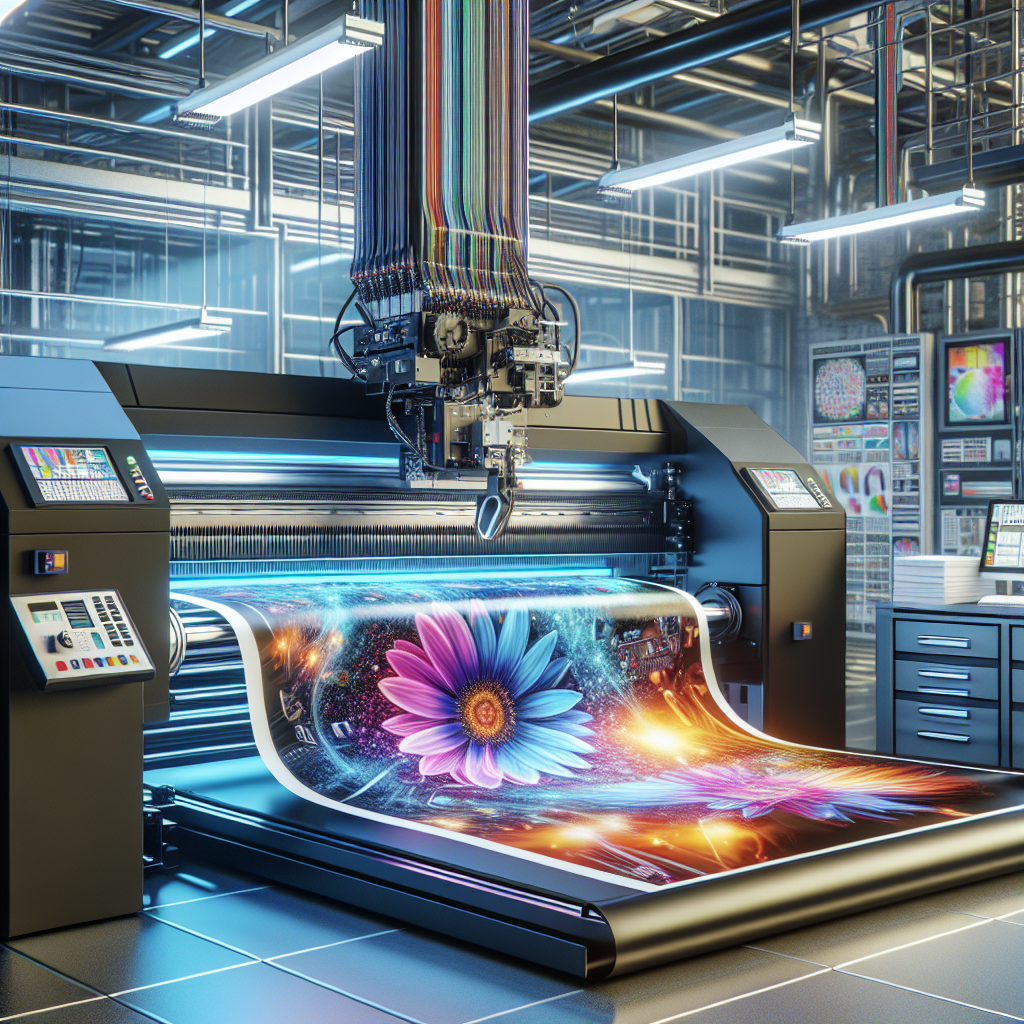
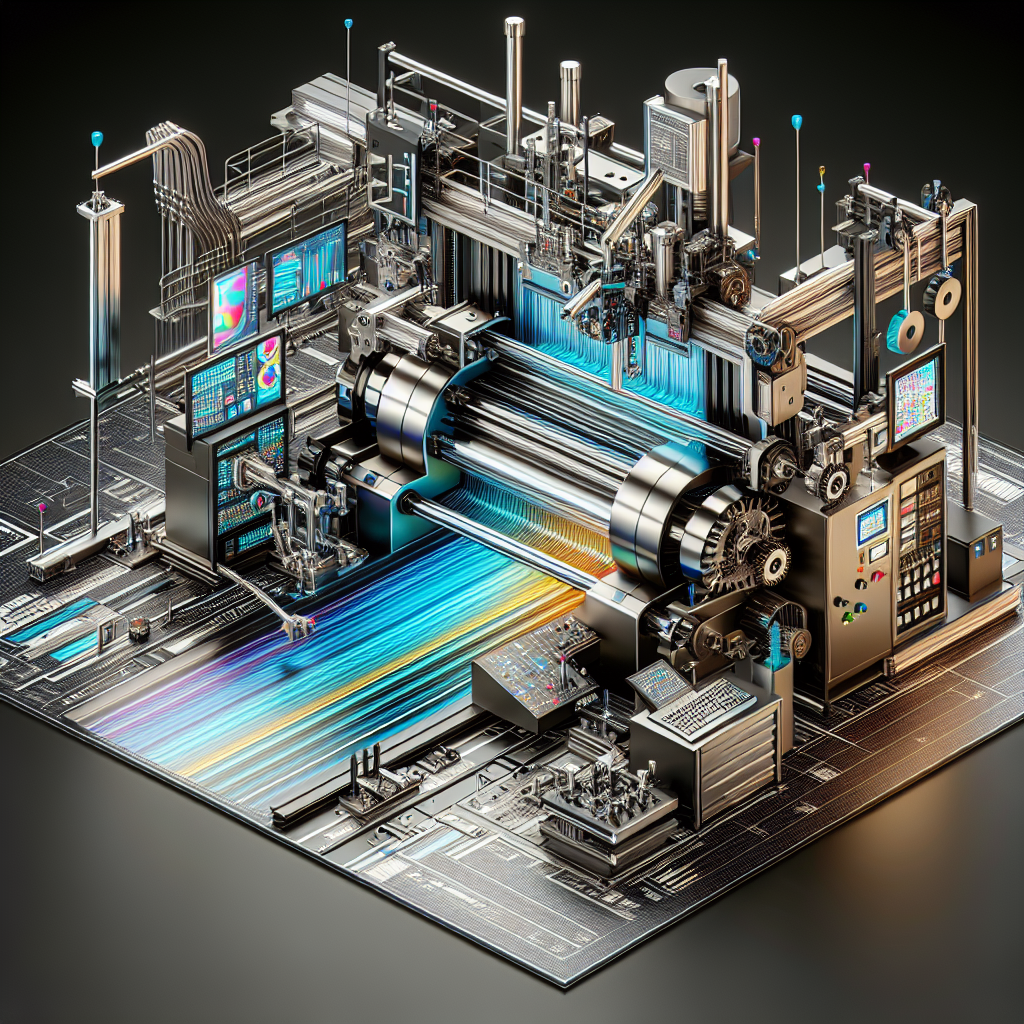
The Direct-to-Film printing process, commonly known as DTF, involves a specific technique whereby designs are printed onto a special film and then transferred onto fabric. This innovative method has revolutionized the apparel printing industry by offering a versatile solution that is compatible with a wide range of textiles, regardless of color or composition.
Understanding the DTF process is key to producing quality transfers. It begins with printing a mirror image of your desired design using a specialized DTF printer that lays down the ink onto the film. Following the print, a powdered adhesive is applied over the ink, which plays a critical role in binding the design to the fabric. After curing the adhesive with heat, the custom transfer is ready to be applied to the garment using a heat press which activates the adhesive, creating a strong and durable bond.
The beauty of DTF printing lies in its ability to produce vibrant, full-color images with incredible detail and clarity. The technology behind it ensures that the prints are not only visually stunning but also long-lasting, able to withstand multiple washes without cracking or peeling. For DIY enthusiasts, gaining a thorough grasp of this process is instrumental in achieving professional-grade results at home.
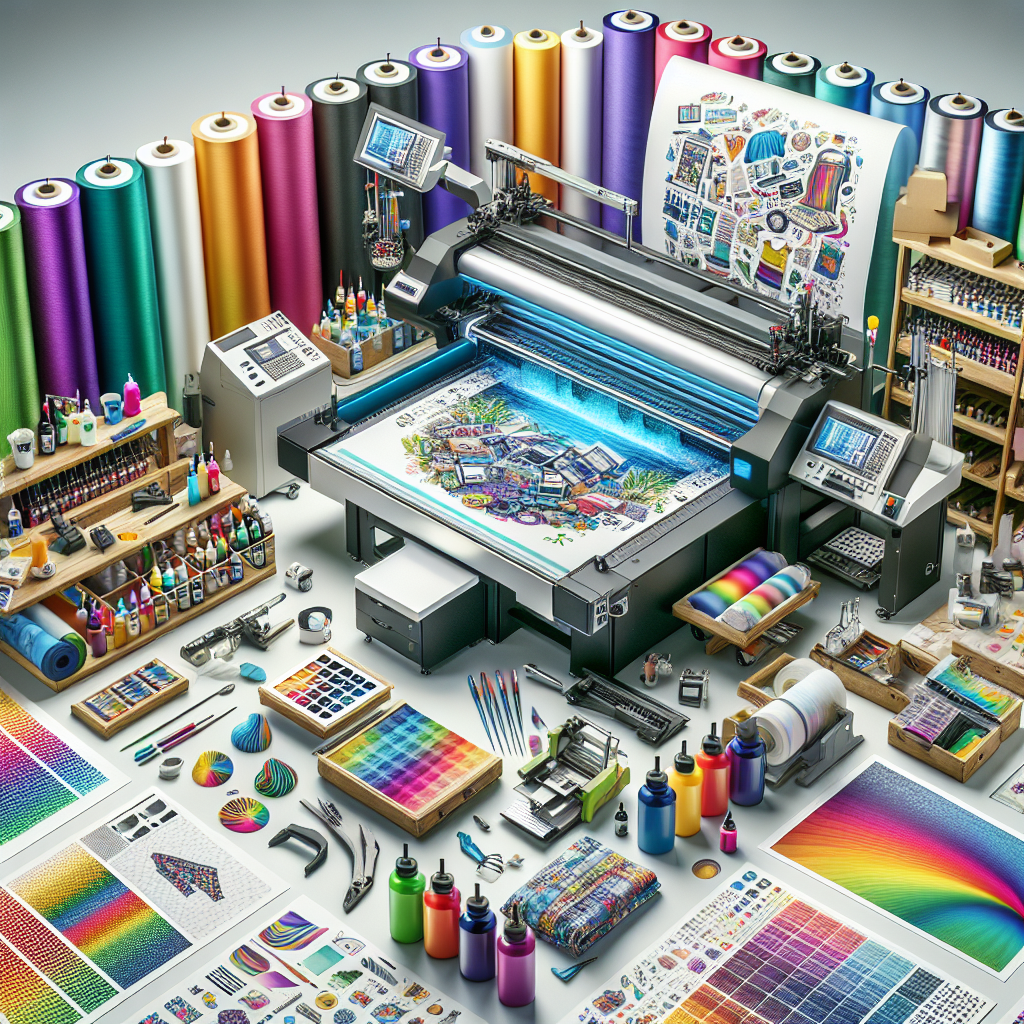
Essential Materials for DTF Transfer Creation
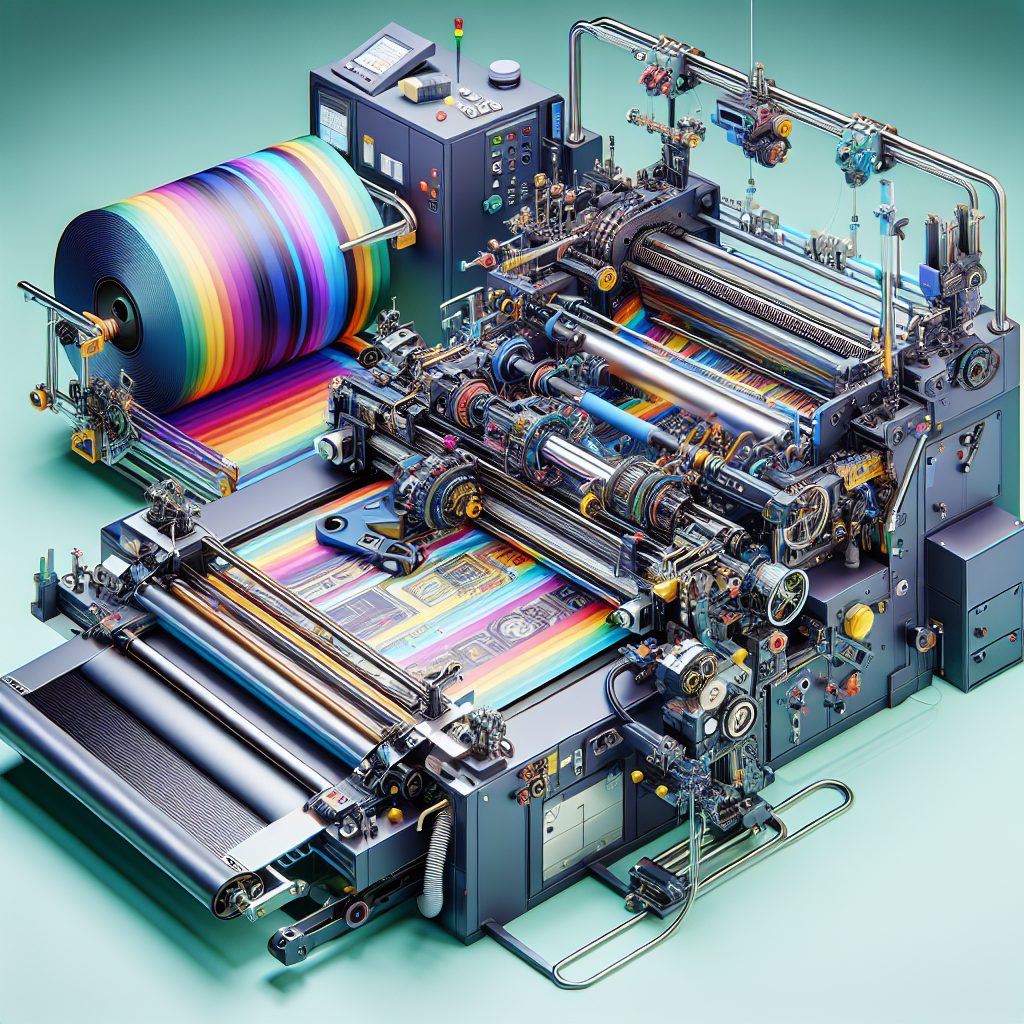
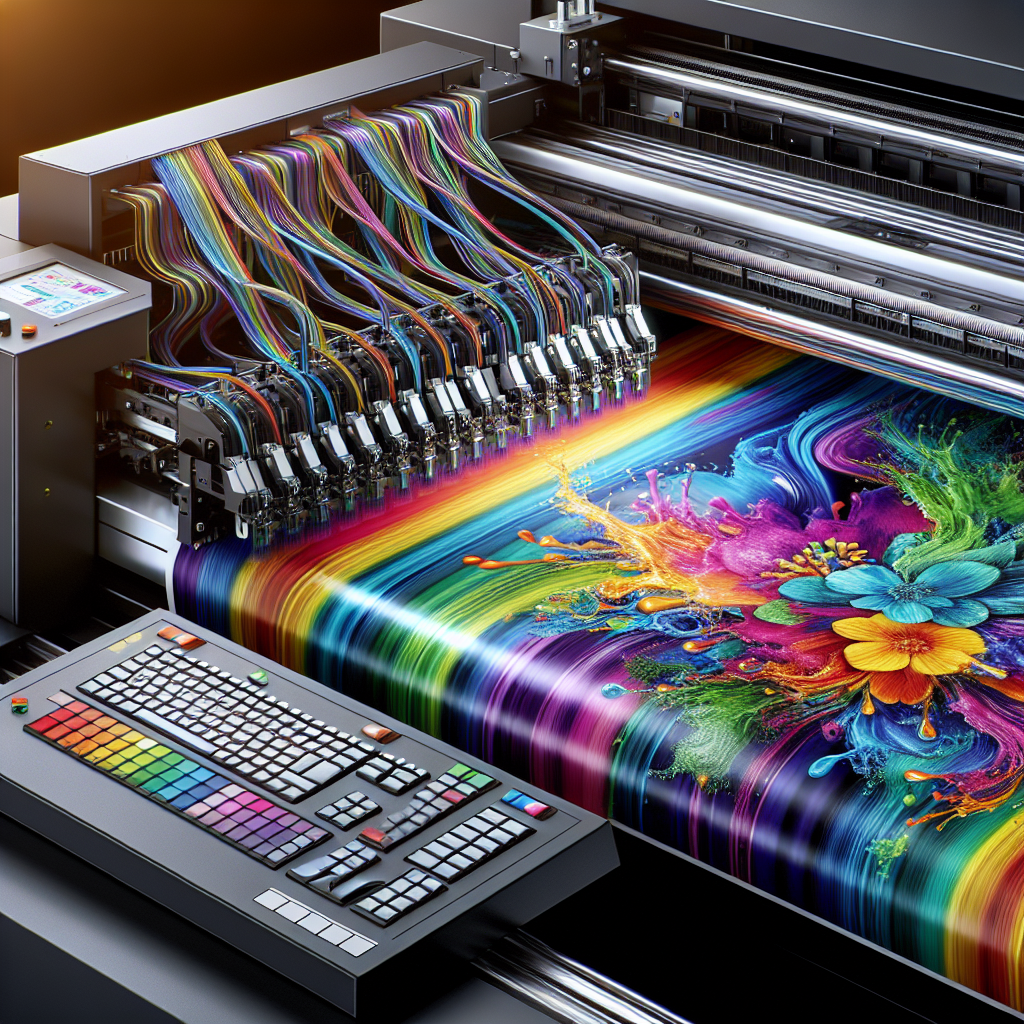
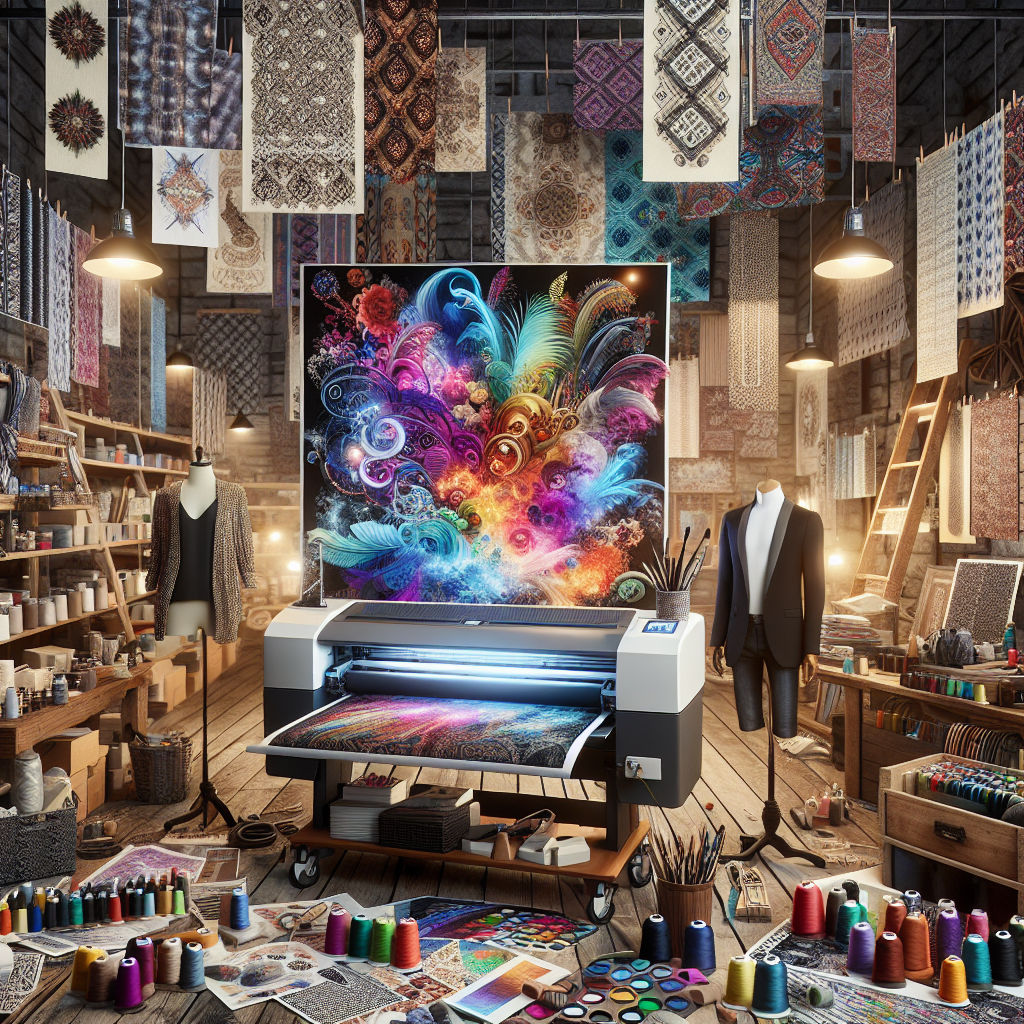
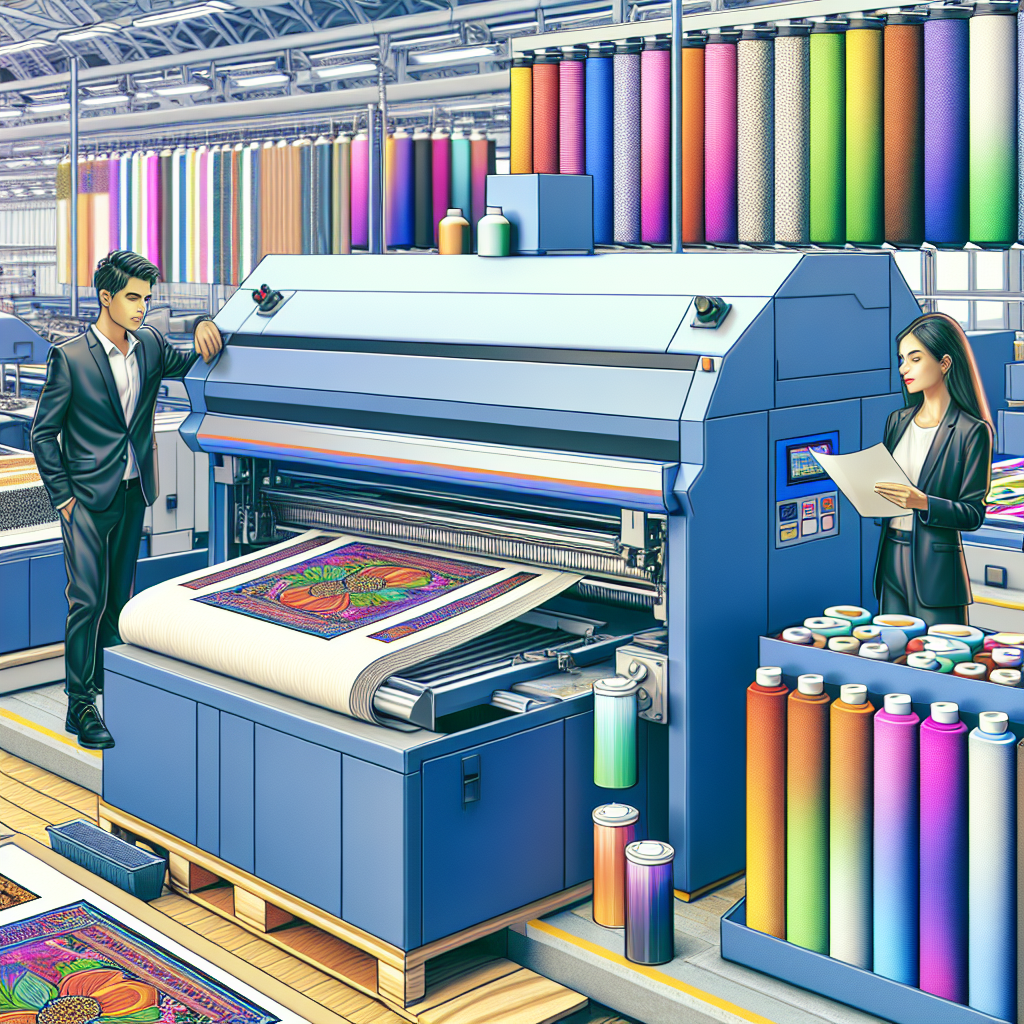
Embarking on the journey to create custom DTF transfers requires gathering some essential materials. At the heart of the process is a DTF printer, a specialized device that can handle DTF inks and film. Accompanying this, you’ll need DTF inks, which are formulated to ensure high-quality prints with vivid colors and longevity. The DTF transfer film acts as the substrate onto which designs are printed before being transferred to the fabric.
An equally important component is the DTF powder adhesive, a fine powder that is applied to the printed film. This adhesive is crucial as it enables the design to adhere to the fabric during the heat-pressing stage. Speaking of heat, a heat press is indispensable for pressing the transfers onto the textile, ensuring a secure and even application. Lastly, to complete your toolkit, consider including finishing equipment, such as a shaker or dryer, which aids in the curing process of the adhesive.
Collectively, these materials form the bedrock of DTF transfer creation. Each plays a pivotal role in the process, and high-quality supplies can make the difference between an amateurish print and a stunning, retail-ready garment. By investing in the right materials, you can elevate your DIY projects to a professional standard, ensuring that your custom apparel is as impressive in durability as it is in appearance.
Step-by-Step Guide to Preparing Your Design
The journey from a creative concept to a striking DTF transfer begins with the meticulous preparation of your design. This step-by-step guide will help ensure that your artwork is optimized for the DTF printing process, resulting in a flawless final product.
- Select the right software: Begin by choosing graphic design software that allows you to work in high resolution and supports file formats compatible with DTF printers, such as Adobe Photoshop or Illustrator.
- Design in high resolution: Create your artwork at a minimum resolution of 300 DPI to ensure sharp and clear prints. Remember, the quality of your design directly impacts the quality of the print.
- Use vibrant colors: DTF printing is renowned for its color vibrancy, so don’t shy away from using bold and bright colors in your design. The DTF inks can reproduce a wide color gamut, bringing your creations to life with stunning accuracy.
- Consider the fabric: Keep in mind the color and texture of the fabric onto which you’ll be transferring the design. Adjust your design’s colors and contrast to ensure they stand out against the fabric.
- Reverse your design: Before printing, remember to mirror your design. This is a critical step, as the printed film will be placed face down onto the fabric during the heat-pressing stage.
- Save in the correct format: Once your design is complete, save the file in a format that’s compatible with your DTF printer, typically a PNG or TIFF, to preserve transparency and detail.
By following these steps, you can prepare your design to meet the demands of the DTF printing process, ensuring that your custom creations capture the essence of your vision with the precision and vibrancy it deserves.
Transferring Your Design: The DTF Application
After perfecting your design, the next phase is transferring it onto your chosen medium. The DTF application is a straightforward process, but it requires attention to detail to achieve professional results.
- Print your design: Using a specialized DTF printer, print your prepared design onto the DTF film. Ensure that your printer’s settings are adjusted for optimal ink distribution and quality.
- Apply powder adhesive: While the ink is still wet, evenly sprinkle the DTF powder adhesive over the printed film. The adhesive is crucial for the transfer to bond with the fabric.
- Cure the adhesive: The adhesive-coated film needs to be cured or melted. This can be done using a heat press or a curing oven. The heat causes the adhesive to melt and merge with the ink, creating a seamless transfer.
- Prep the fabric: Prepare your fabric by ensuring it’s flat and free of wrinkles. Pre-pressing the fabric can remove moisture and provide an ideal surface for the DTF transfer.
- Heat press the transfer: Place the DTF film onto the fabric, adhesive side down, and use a heat press to apply pressure and heat. The temperature and time will vary depending on the fabric and ink type, but typically range from 220 to 280 degrees Fahrenheit for 15 to 25 seconds.
- Cool and peel: After pressing, allow the transfer to cool down before peeling off the film. This step is pivotal; peeling too soon or too late can affect the quality of the transfer.
With each step carefully executed, the DTF application process concludes with a vibrant, durable design transfer that is ready to make a statement. Whether it’s custom apparel or promotional materials, the DTF technique can bring a professional touch to your creative projects.
Finishing Touches: Curing and Care Instructions

The final step in the DTF process is as crucial as the initial design phase. Ensuring the longevity and quality of your custom transfers involves proper curing and care. Curing is the process of heat-setting the ink onto the fabric, which not only solidifies the bond but also increases the print’s resistance to washing and fading. A heat press is typically used for this process, applying the necessary temperature for a set duration to essentially ‘lock’ the ink into the fabric.
Once the transfer has been properly cured, it’s important to follow specific care instructions to maintain the print’s integrity. Here are some guidelines:
- Avoid washing the printed garment for at least 24 hours after application.
- Turn the garment inside out before washing to reduce abrasion on the print.
- Use mild detergents and avoid bleach to preserve the colors.
- Wash with cold water to prevent ink from degrading.
- Avoid direct ironing on the print. If necessary, use a protective layer between the iron and the print.
- Tumble dry on a low setting or hang dry the garment to avoid excessive heat exposure.
By adhering to these care instructions, your custom DTF prints will maintain their vibrancy and durability through multiple washes, allowing your designs to stand the test of time.
Ready to transform your vision into reality? For those who desire professional assistance or access to high-quality DTF services, please visit AffordableDTF.com for more info! Our team is dedicated to helping you achieve the perfect finish for your custom apparel and promotional materials.